Orders
Create an order
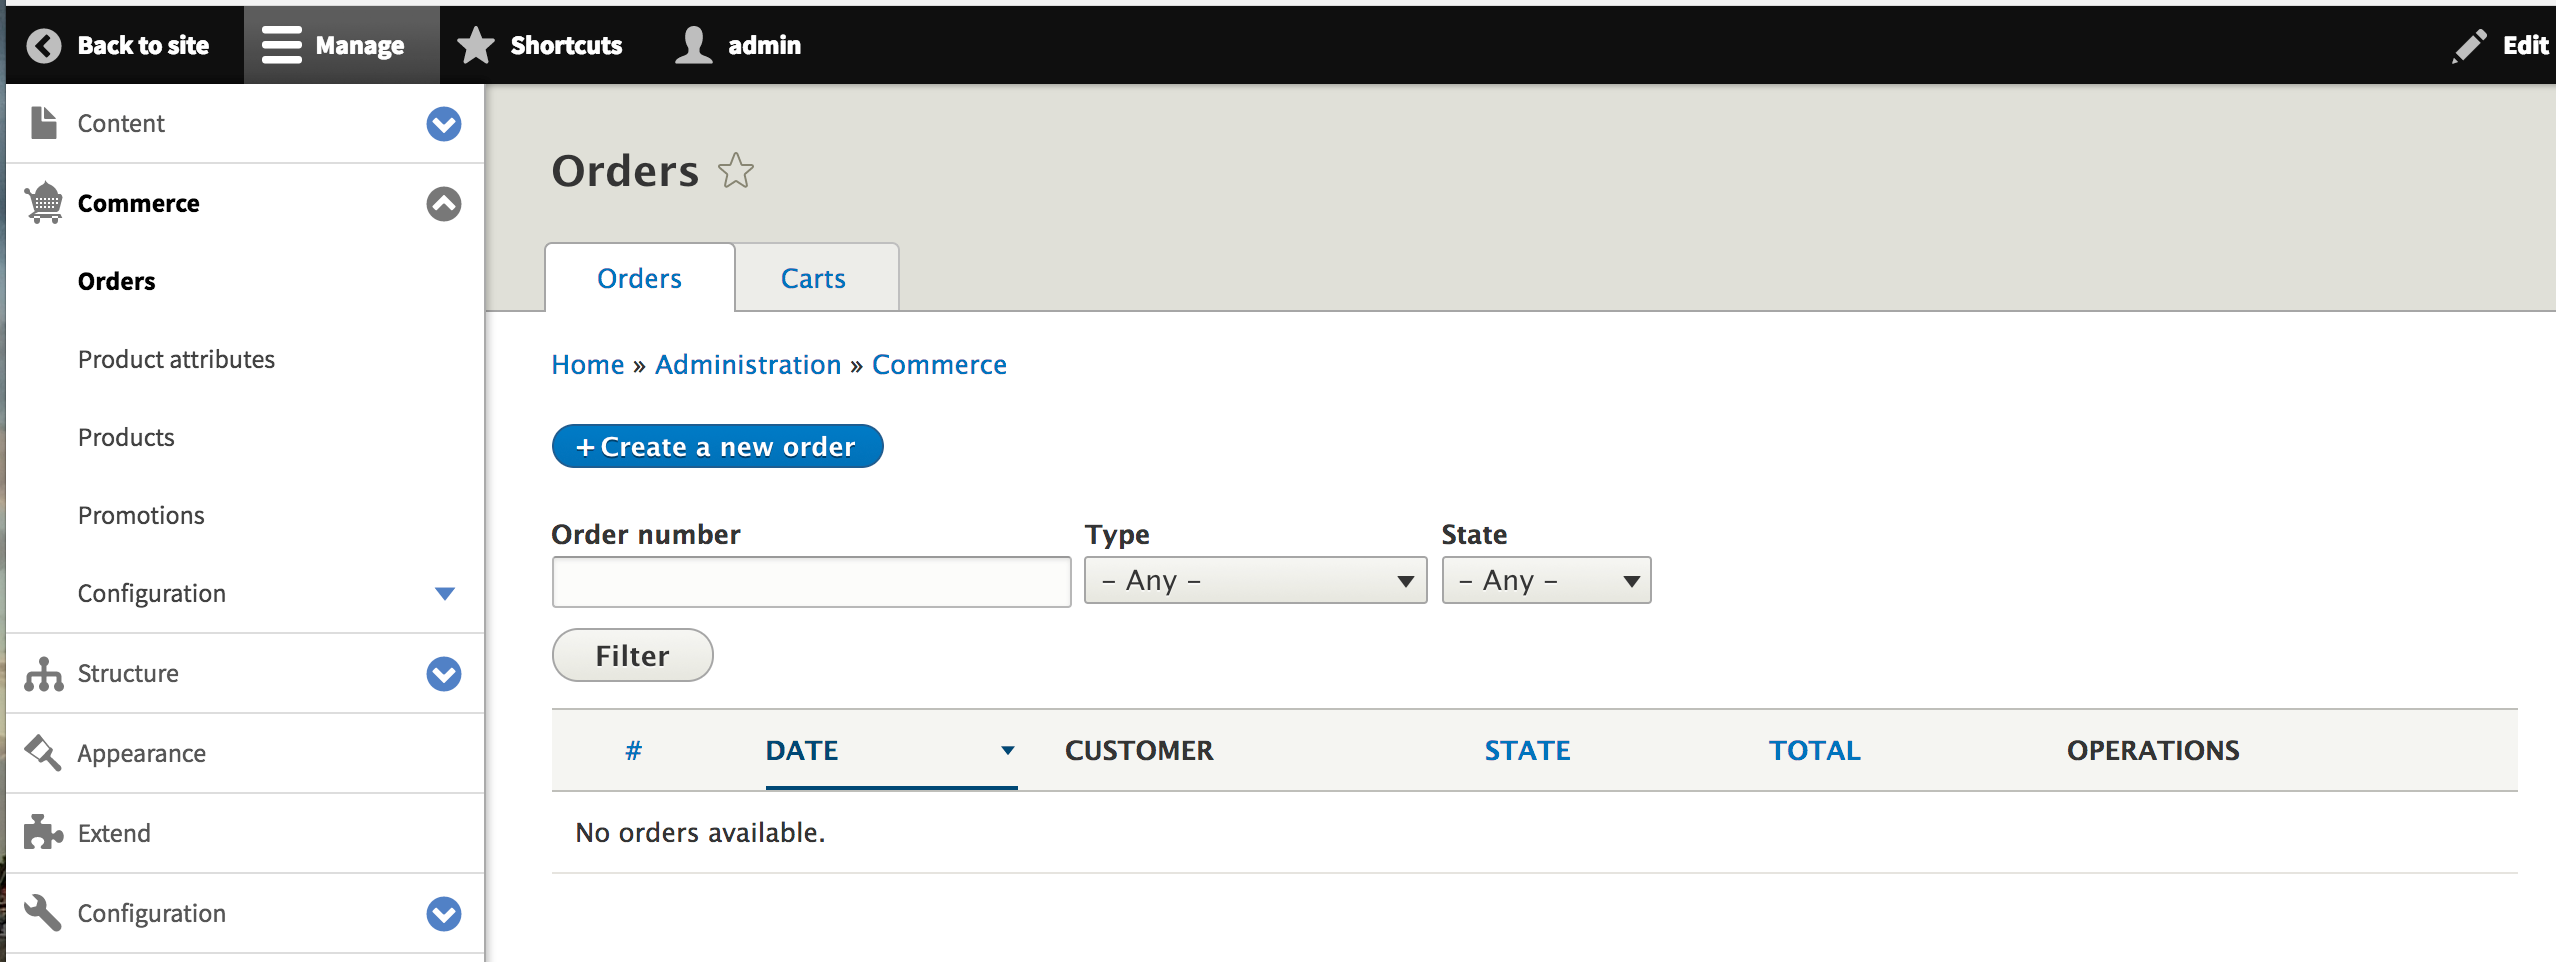
Orders can be created for customers in the administrative areas. This can be done by going to the Orders management page from the Commerce page from the administrative toolbar. Click on Create a new order.
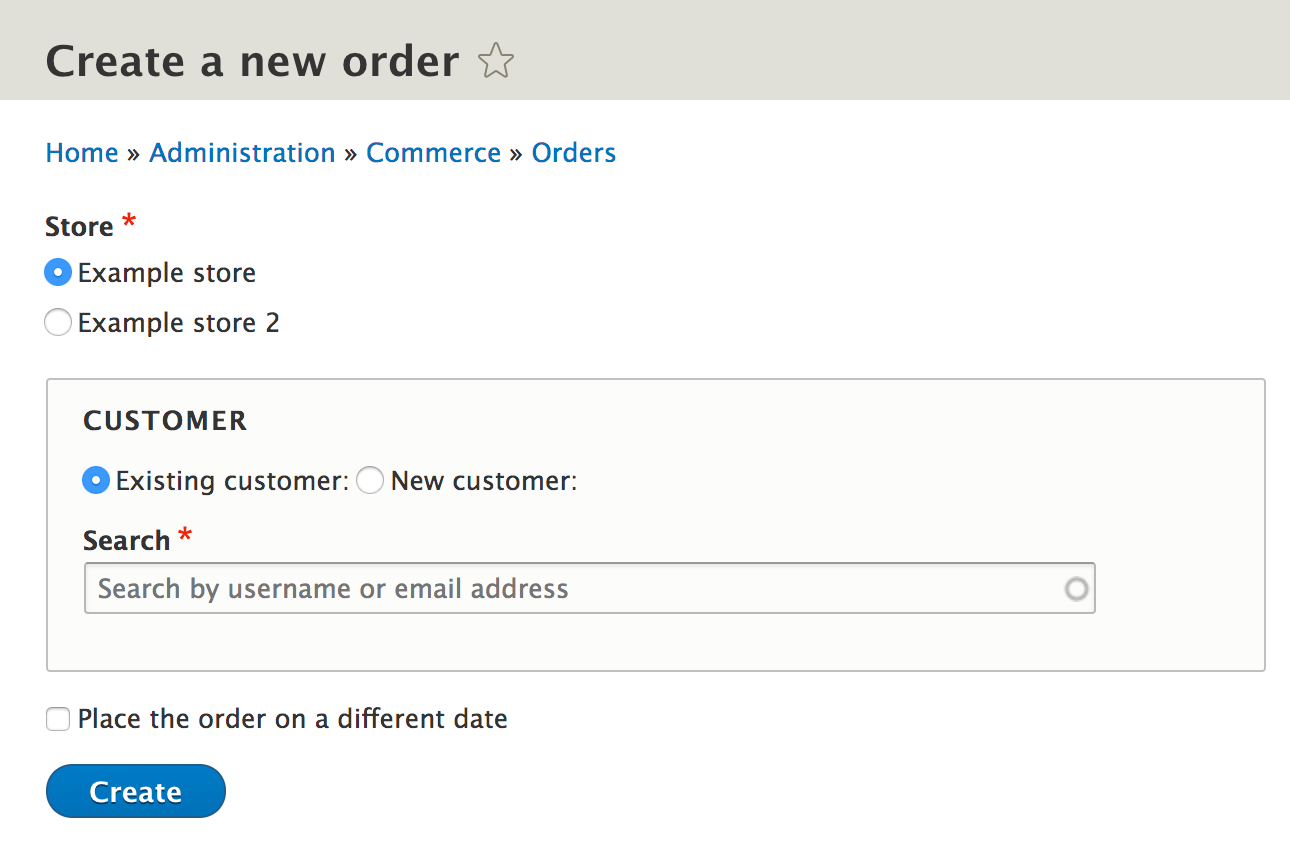
When creating an order you select the store it is for and specify a customer.
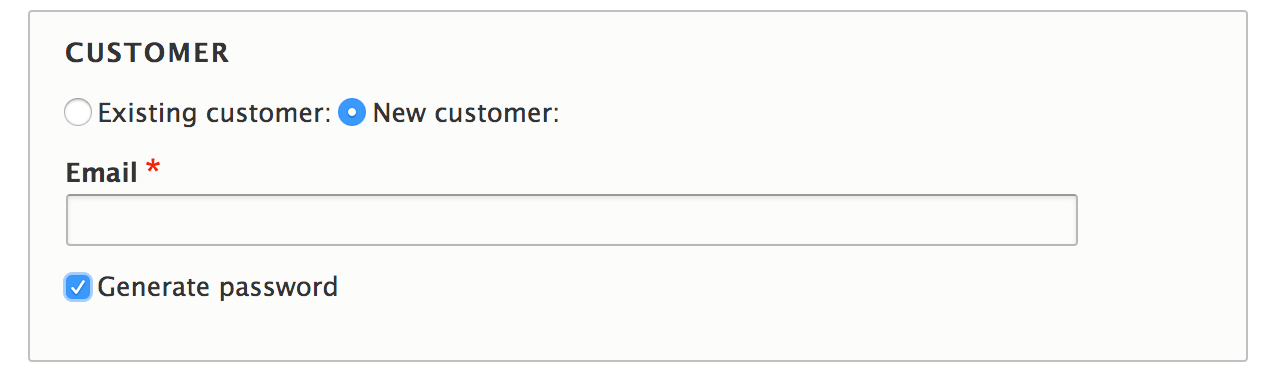
Instead of re-using a customer, a new one can be created.
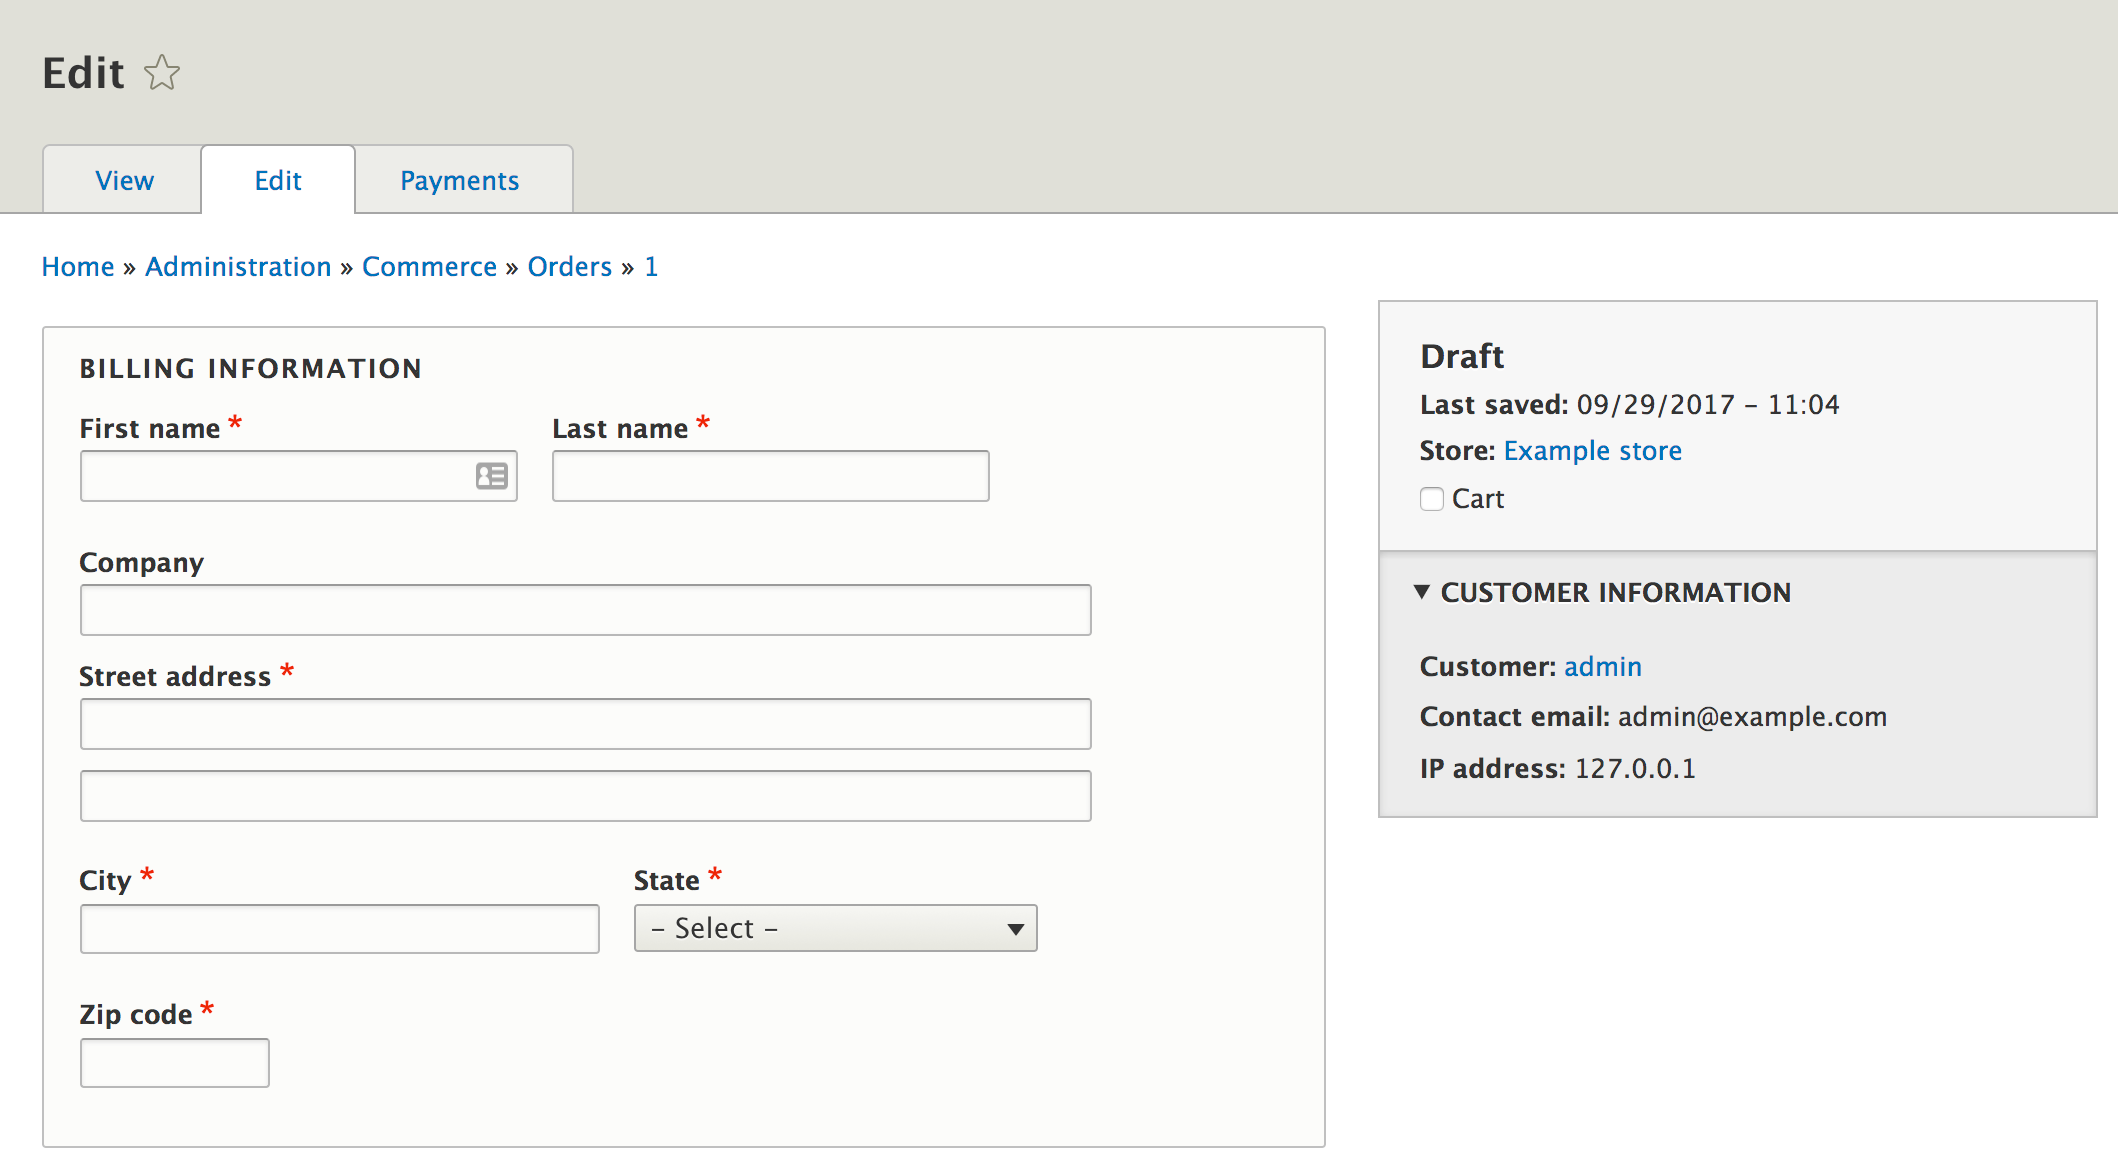
Click Create. You will then be able to provide information about the order. The first items will allow you to provide billing information for the order. You can also specify if the order is a cart or not. By marking the order as a cart, the customer will be able to review the cart and go through the checkout with it.
Next, order items can be created. The order items are the products the customer is purchasing.
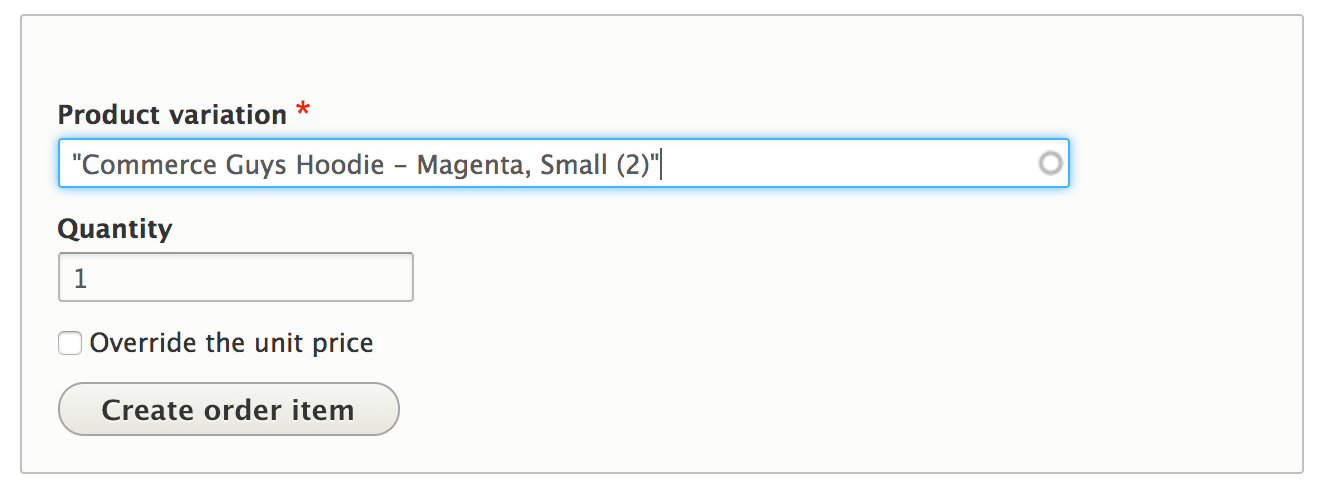
Once satisfied, click Save
Prices, promotions and taxes are calculated automatically when the order is refreshed. To change what the customer pays, edit the order items, or apply a promotion or coupon to the order.
Viewing carts
Carts are created whenever a customer submits an Add to Cart form or when an admin begins an order via the Create order link on the Orders page and checks the Cart checkbox before saving the order. Carts have an order ID but no order number, as those are not generated until the order is placed. You can view the current carts in your store by navigating to the Commerce > Orders page and clicking the Carts tab. From the Carts tab you can view, edit, reassign, add payment information to, or delete a cart using the dropdown operations menu based on your account's permissions.
When a customer completes checkout or an admin places the order, the cart option is toggled off and the order ID remains the same but an order number is generated that follows the number pattern setup for the order type. Until checkout completion or order placement, carts are in a unique order status called Draft that allows the order items to be periodically refreshed, updating the pricing and availability of the products in the cart. Once a cart is placed and moves out of the draft status, the order will no longer be periodically refreshed.
Purging abandoned carts
Periodically purging abandoned carts will minimize junk carts in the database and alleviate performance issues caused by hundreds of thousands of stale carts hanging around indefinitely. You can set the system to automatically purge abandoned carts after a certain period of time by enabling the Delete abandoned carts option on the order type configuration screen. The setting needs to be enabled for each order type, and the time period should be configured. The default when enabling this option is 30 days. Carts that have not been updated within the configured time frame will be deleted when the cron job runs. Note that the configured time frame is a rolling interval, meaning the counter is reset whenever the cart is modified.
You can also manually purge carts en masse via the bulk operation available to you on the Cart page in the admin interface.
View orders, find specific ones
All placed orders are listed at Commerce > Orders (/admin/commerce/orders). Filter the list by order number, type or state. Click an order to view it: the order page shows its items, totals, customer and billing information, payments, and the buttons to move it through its workflow.
Carts (orders that haven't been placed yet) are listed separately, on the Carts tab.
Manage an order
Setting the order number pattern
In Drupal Commerce, you have the flexibility to tailor order numbers to your business’s requirements. Number patterns are configurable per order type and can be shared or set to be unique for each store.
To begin, navigate to Commerce > Configuration > Orders > Number patterns to create a number pattern. On this page, you can establish new patterns, each requiring a unique name. The number patterns form offers several configuration options, including regeneration settings, what number to start from, and whether numbers are shared between stores.
The strength of number patterns lies in the versatility provided as to how the numbers are generated. You can incorporate a blend of custom strings and tokens, allowing for prefixed or suffixed numbers based on fixed strings or structured data from your site. This gives you the ability to brand your order numbers and segment your orders based on business needs without writing custom code.
After configuring your number pattern, it’s time to make use of it on one or more order types. Proceed to Commerce > Configuration > Orders > Order types. Here, edit the order type that requires the new number pattern. Within the order type’s edit page, select your previously created number pattern from the dropdown menu then save the form. New orders will now make use of your custom number pattern.
Order workflows
Every order follows a workflow: a set of states the order can be in, and the transitions that move it from one state to another. Orders start in the Draft state while they are carts. When the customer completes checkout (or an administrator places the order), the Place order transition moves the order out of draft.
Commerce provides four workflows:
| Workflow | States after the order is placed | Use it when |
|---|---|---|
| Default | Completed | There's nothing to do after the order is placed, for example digital products delivered immediately. |
| Default, with validation | Validation → Completed | Someone must check orders before accepting them, for example to review fraud or stock. |
| Fulfillment | Fulfillment → Completed | Orders must be fulfilled, for example shipped, before they are complete. |
| Fulfillment, with validation | Validation → Fulfillment → Completed | Orders must be checked, then fulfilled. |
In every workflow, orders that aren't completed can be moved to Canceled with the Cancel order transition.
The workflow is set per order type. To change it, go to Commerce > Configuration > Orders > Order types, edit the order type and choose a Workflow. It applies to all orders of that type. Developers can create their own workflows; see Order workflows.
Processing an order
Orders are processed from the order page: the available transitions are shown as buttons, such as Validate order, Fulfill order or Cancel order.
For example, with the Fulfillment, with validation workflow:
- The customer completes checkout. The order is placed and moves to Validation.
- A store manager reviews the order: they check that the payment isn't fraudulent and has been captured (see Payment administration), and that the products are in stock. They then click Validate order, which moves the order to Fulfillment.
- Once the order is shipped, they click Fulfill order, and the order is Completed.
If there's a problem, for example the payment is declined or the products are out of stock, they click Cancel order instead.
Receipt emails
These settings are managed on an Order Type basis so that you can have different settings for different types of orders and manage order notifications in a granular way.
Enable / Disable Customer Order Receipts & Store Notification Emails
Visit the Commerce configuration page and go to the Order types page in the Orders section.
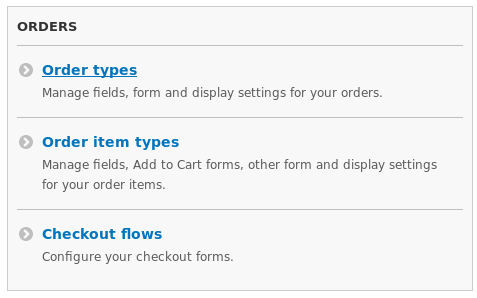
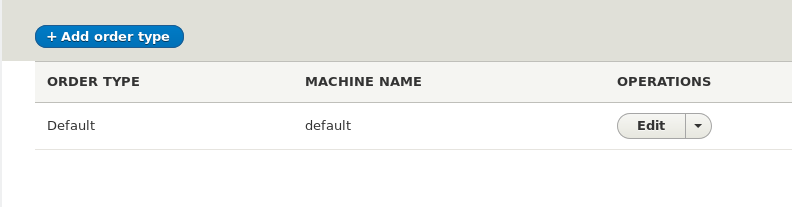
Click on Edit on the order type you wish to configure
Locate the Emails section
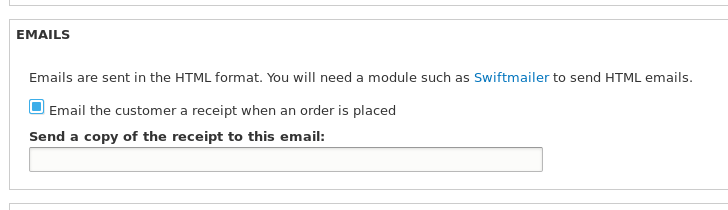
- Check / uncheck the Email the customer a receipt when an order is placed box.
- Enter the store notification email address into the Send a copy of the receipt to this email: field. You can enter multiple comma separated addresses into this field eg "one@example.com, two@example.com, three@example.com"
Editing / Translating the Email Text
Use the template file located in /commerce/modules/order/templates/commerce-order-receipt.html.twig.
You can copy this file to your theme and then edit the text as desired. You can also use the file as a translation reference when searching for strings to translate in the user interface translation UI.