Getting started
We need help filling out this section! Feel free to follow the edit this page link and contribute.
Orders contain a list of order items and customer information. Orders have states that are controlled through State Machine.
Order types - You can have different order types. Order types have their own settings when it comes to cart, checkout, and its processing.
Order items - Orders contain order items, which represent purchased items.
Workflows - Each order type can use a different order workflow depending on the type of items sold, whether it's shippable etc.
Advanced topics
Order processing - Allows you to process an order, when the system recalculates order item prices and availability.
Order types
Order types allow you to control how an order interacts with the other components of Drupal Commerce, and the how the order moves through the system.
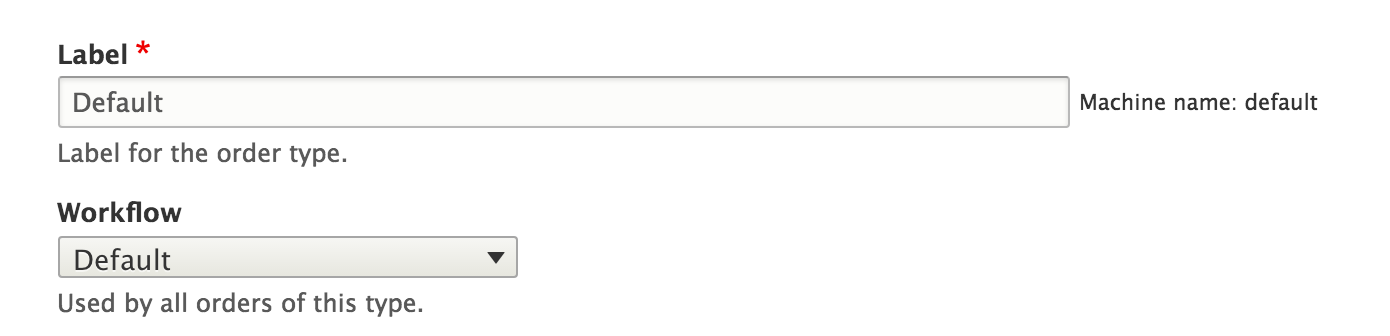
Orders have a specific workflow that defines what states and transitions the order can move in. Each order type can have its own workflow.
This means your default order type, which has shippable products, can use the Fulfillment workflow. Meanwhile, your digital goods order type can have the more simplistic Default workflow.
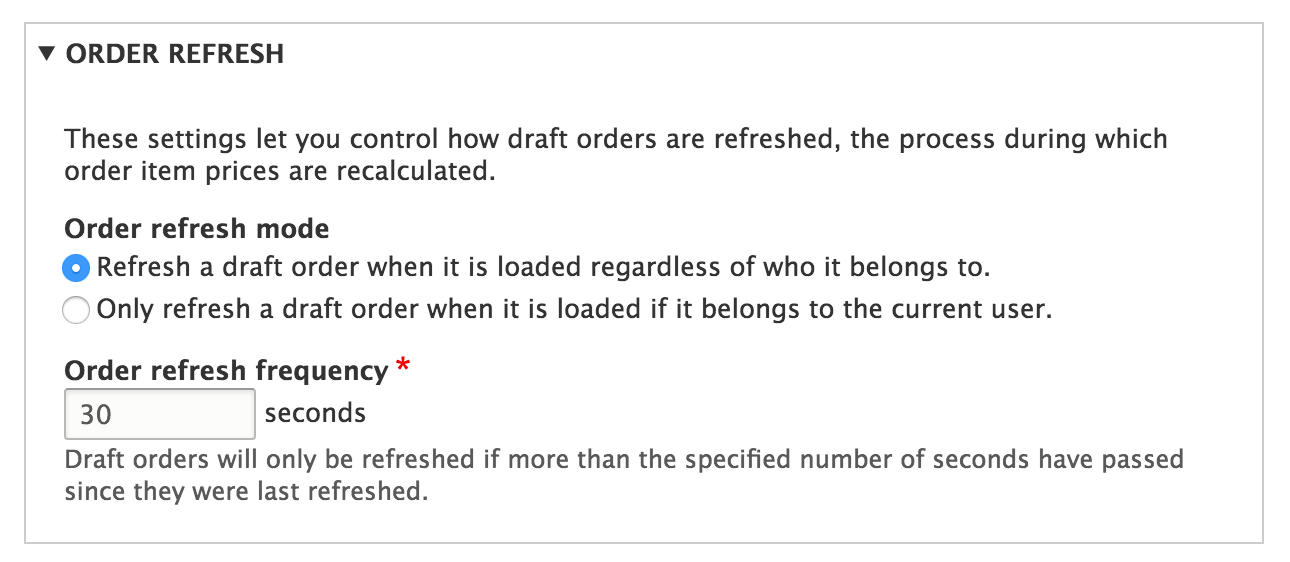
Each order type can control its refresh settings to control how often order drafts are processed. This controls the order refresh process.
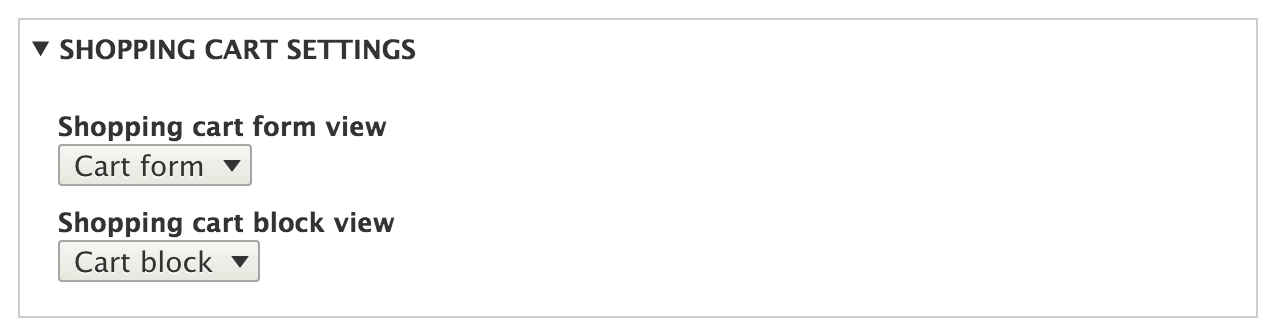
The cart module allows each order type to control the default view used when rendering carts in the cart block or cart form.

You can use a different checkout flow for each order type. In this case you would have a physical order use a multiple step checkout flow that requires shipping information. A digital order could have a more simplified checkout flow that has one step (i.e.: payment.)
Order items
An order item represents a purchasable entity inside of an order. It contains a reference to the purchasable entity, a quantity, a unit price and a total price.
Order items are fieldable and may also store other data relevant to the order, such as product customizations/configurations that are unique to the order. For example, suppose you offer products that are available in a variety of lengths. If there are just a few, limited options, like "10 cm, 20 cm, or 50cm", then the best approach will typically be to create a "length" product attribute for your product variation type with these values. On the other hand, if a customer can enter any value from 10 cm up through 100 m, you may not want to create a unique attribute value (and SKU) for every possible value.
Creating an excess of product variations makes management hard. An alternative to using product attributes is to create a "length" field for your order item type, configured so that customers can enter the length value when adding the product to their carts.
In Drupal Commerce 1.x, these were called line items.
The order total is based off the unit price of order items multiplied by their quantity and the sum of all order item totals.
Order items have their unit price calculated during the order refresh process. This synchronizes the price with the current purchasable entity’s price while the order is still in a draft state, as well as applying any promotions and discounts as well as any custom functionality that may adjust the price - or custom fields on the order item.
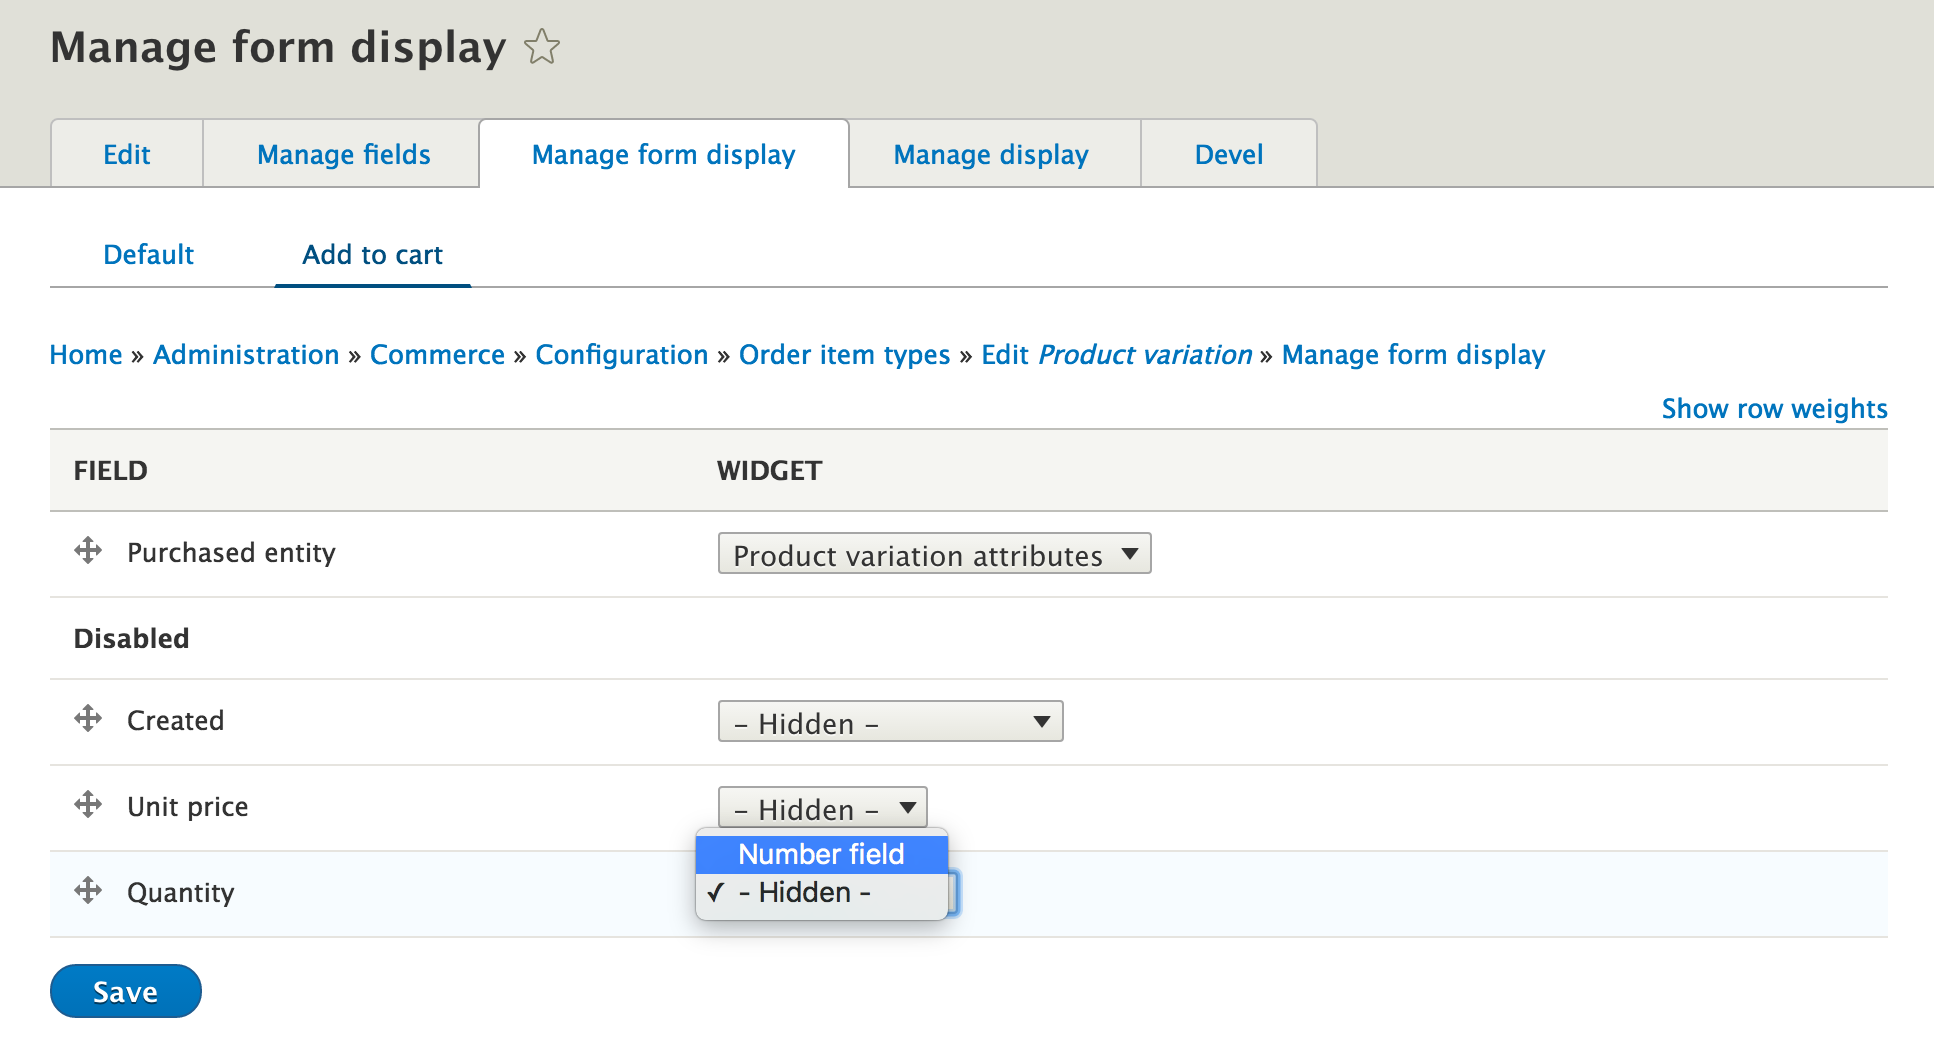
The add to cart form is actually the create form for an order item entity. It is a specific form display. Selecting attributes on the add to cart form identifies the proper reference purchased entity to reference.
Basic Order management
Creating an Order
Site administrators can create orders on behalf of their customers by going to /admin/commerce/orders/add. From here, you can either create a new order for an existing customer (chosen from the autocomplete search box). Or, you can create a new customer on the fly by providing just an email address.
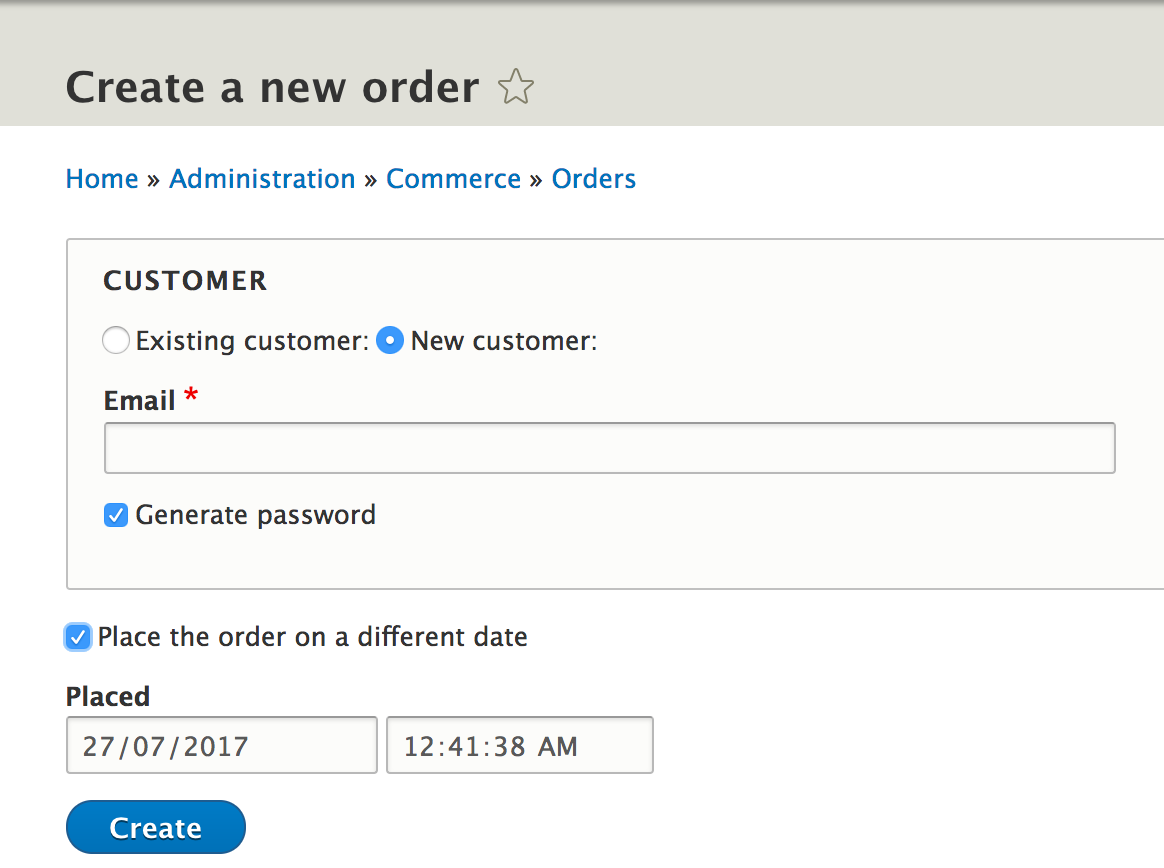
You also have the option to create the order for a different date.
Once you've made the appropriate selections, you are taken to the order creation page where you enter the billing details and the products in the order.
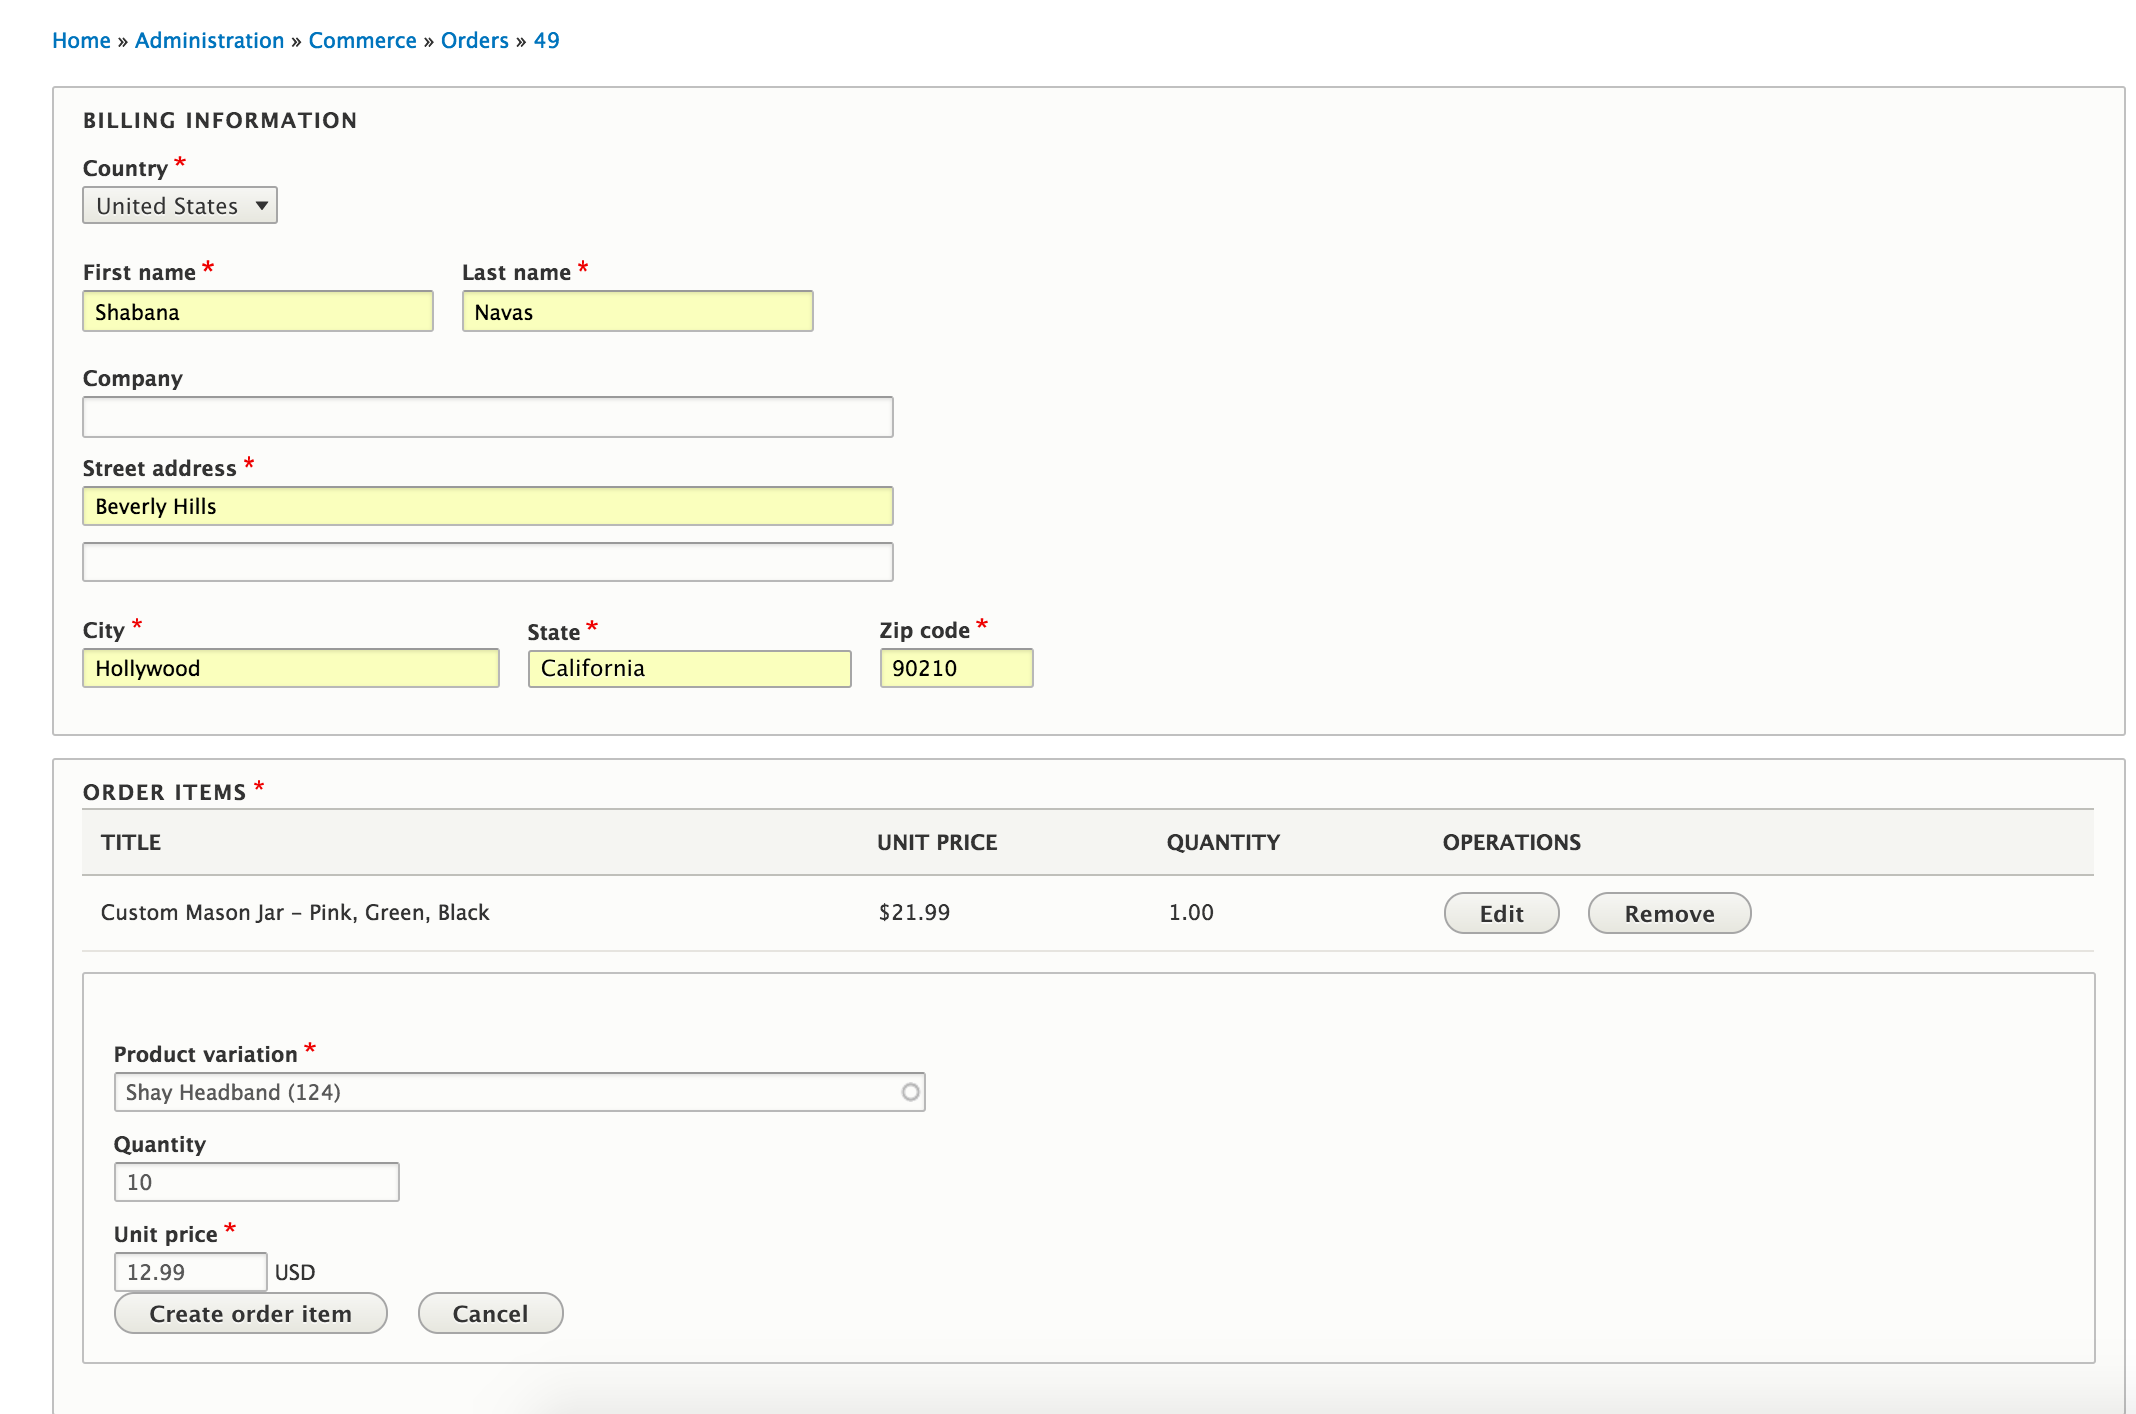
As you move further down, you'll see that there is an "Adjustments" section. This where you can add promotions, add a shipping amount, add tax, as well as, any custom amount to the order total. (See steps on creating a promotion)
And finally, you can apply coupons to the order. (See steps on creating a coupon)

If you already have promotions running, this will automatically be reflected in the item pricing and the overall order total.
Saving an Order
Now that you've added all the order details, let's save the order. You also have the option of saving this new order to our cart. This will automatically add the products in this order to the shopping cart so you can complete the checkout by going to /cart.
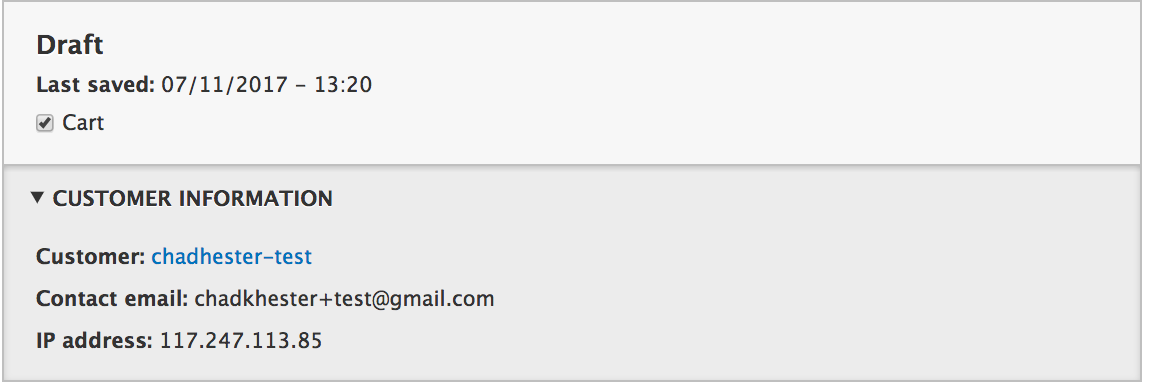
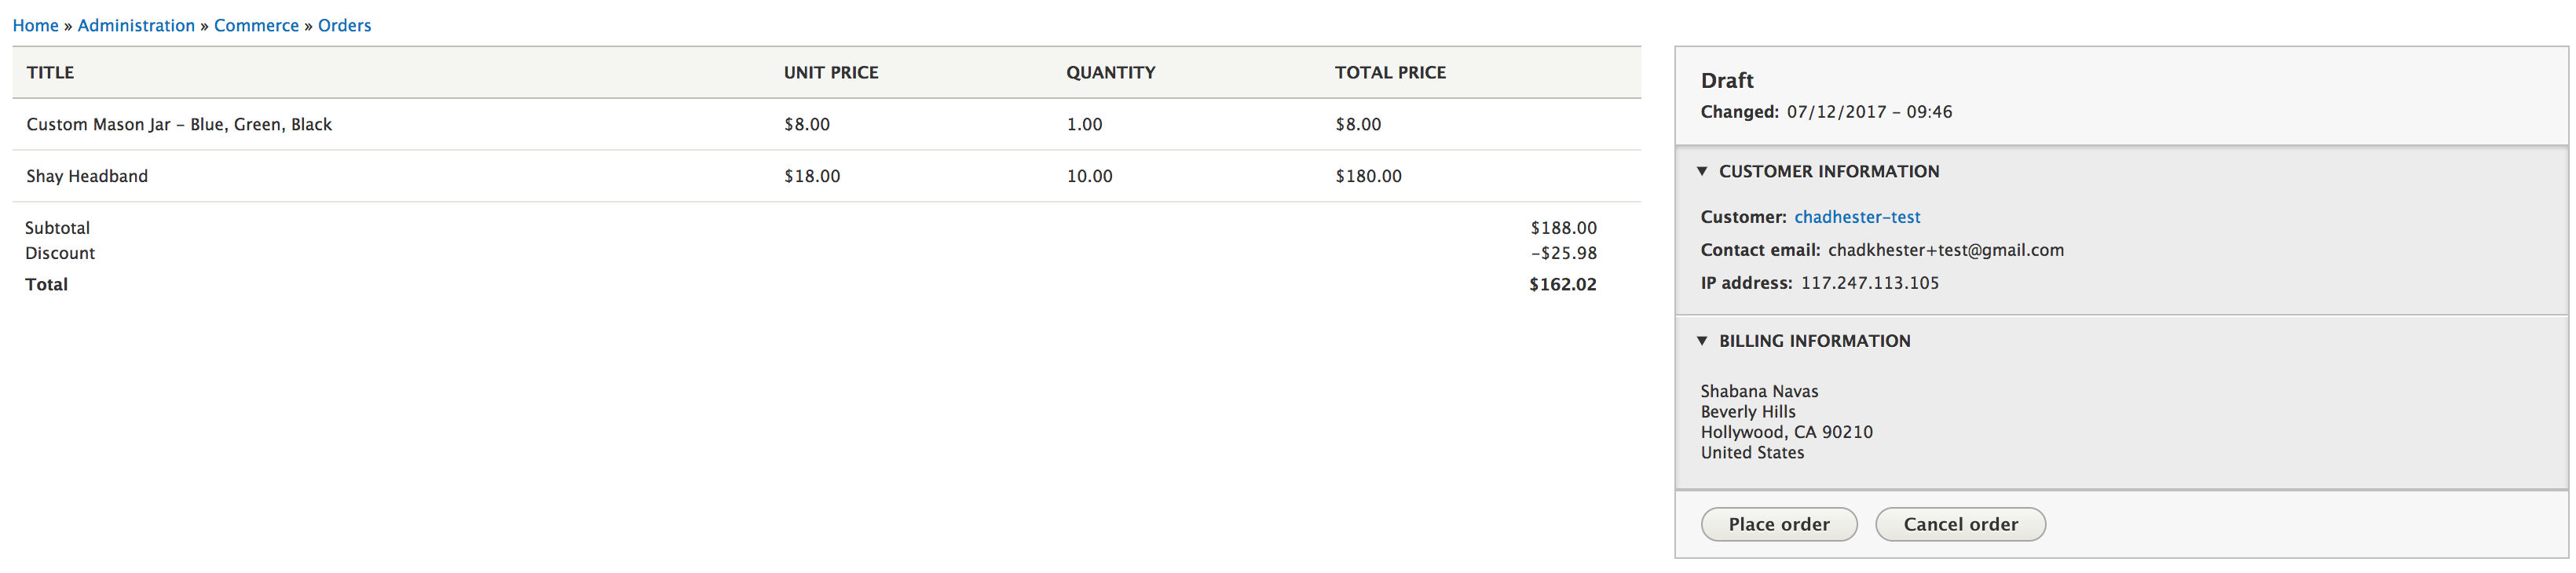
Now, click to view the order. Notice that a discount has been automatically applied to the order total as there was a "20% Off" promotion running store-wide. Also, notice that the order is currently in Draft state.
Adding Payments
As an admin, once you've got all the order details done, our next job would be to complete payment on the order. That's where the 'Payments' tab comes in. The payments page allows us to process a Credit Card/Email Money Transfer/Bank Transfer/Cheque payment for the order using the store's preferred Payment Gateway.
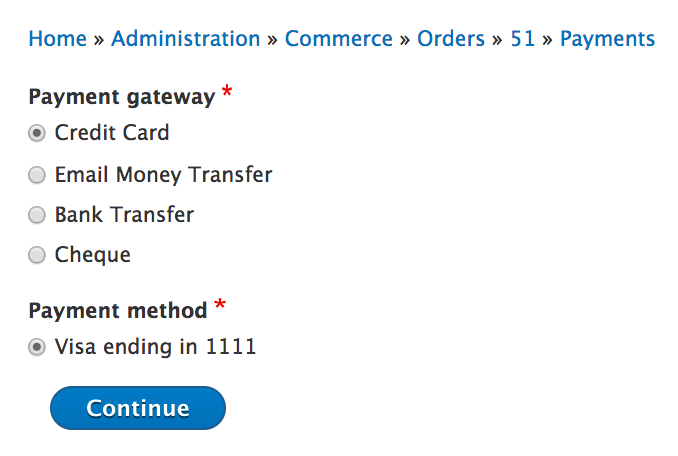
Now, that you've got money for the goods from the customer, let's go ahead and officially place the order by clicking on the "Place order" button. This will put the order in Validation state.
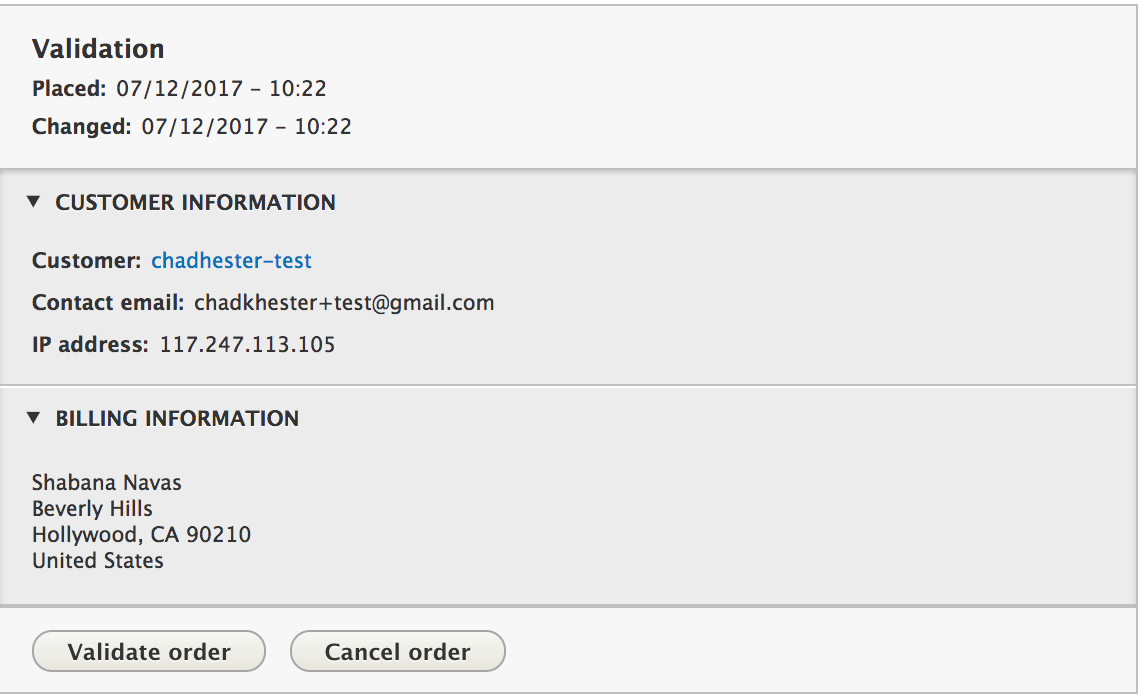
Completing the Order
Once you are ready to ship the order, you must click the "Validate Order" button and it will put the order in Fulfillment state.
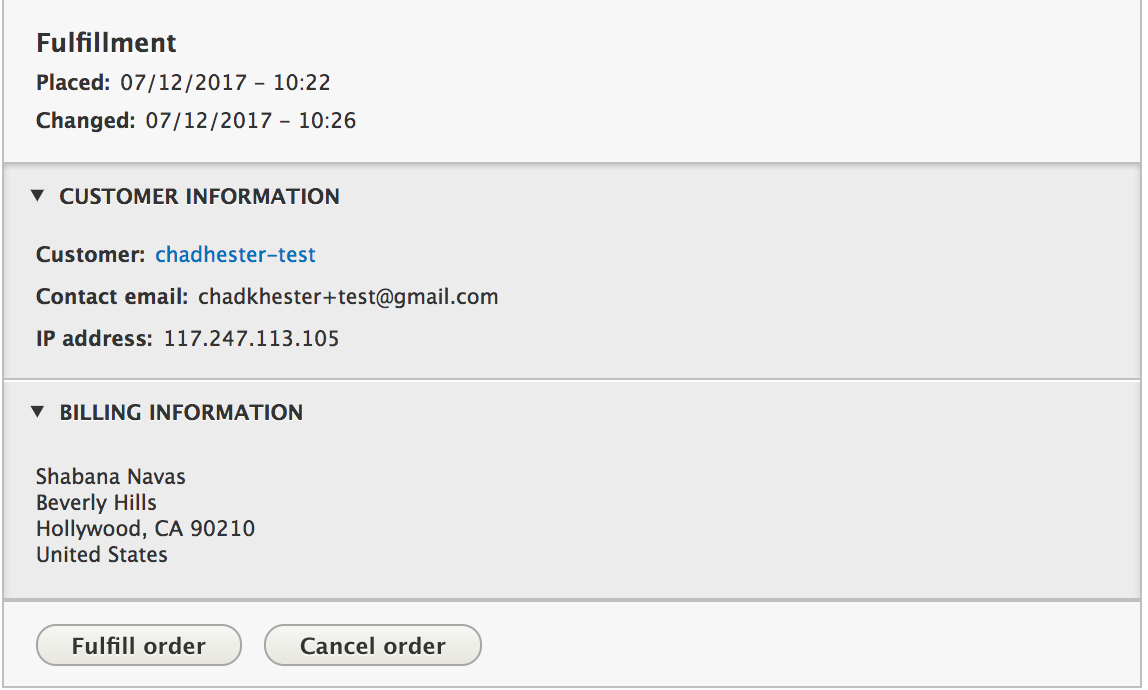
And finally, once the order has shipped out, you can hit the "Fulfill Order" button and the order enters Completed state.
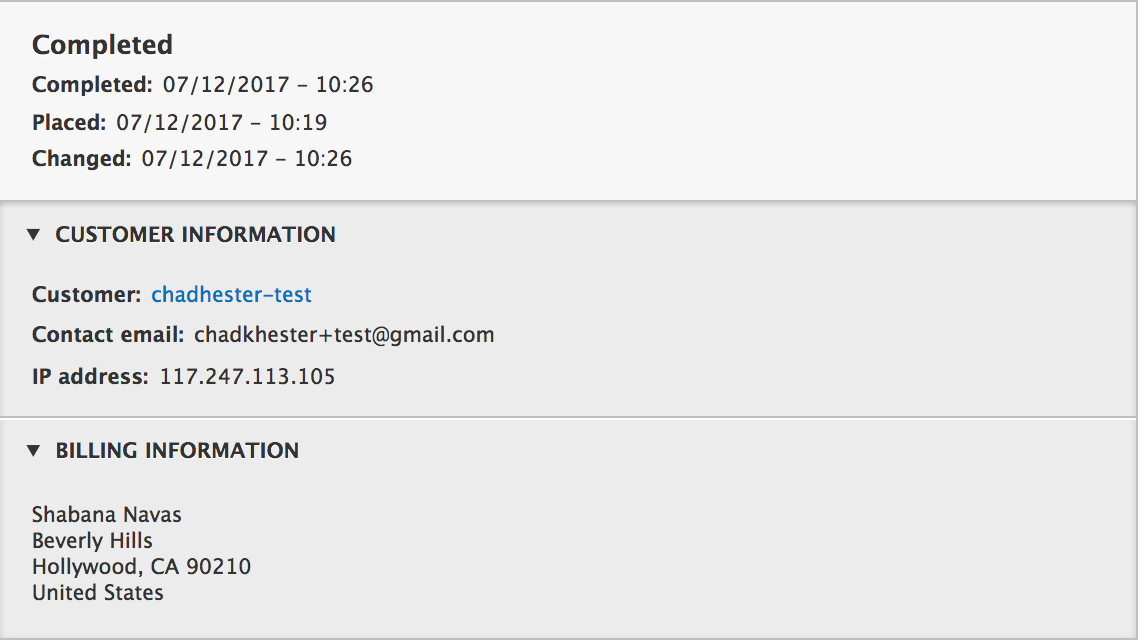
See the Order workflow documentation for more information about Order states and transitions.
Order refresh and processing
Order processing is part of the order refresh process. This is run when on draft orders to ensure that it has up to date adjustments and that its order items are up to date.
The order refresh lifecycle
The order refresh is vital to ensuring that an order has up to date product pricing, promotional adjustments, taxes, and more. When an order is loaded, the order's storage checks if it requires a refresh. This then invokes the order refresh cycle, controlled by the commerce_order.order_refresh process.
The order refresh process only runs on draft orders. It will not run on orders which have been placed.
The following is an overview of the process:
- An order is loaded from storage and checked if it should be refreshed.
- All adjustments on the order are removed.
- Each order item is processed
- All adjustments are removed.
- If there is a purchasable entity reference, the order item's price is updated to that purchasable entity's current price.
- Services that have hooked into the process will run on the order
- The Promotions module uses this to apply order and order item promotions adjustments.
- Tax applies tax adjustments.
- If order items have been changed (new pricing, new adjustments) they are saved.
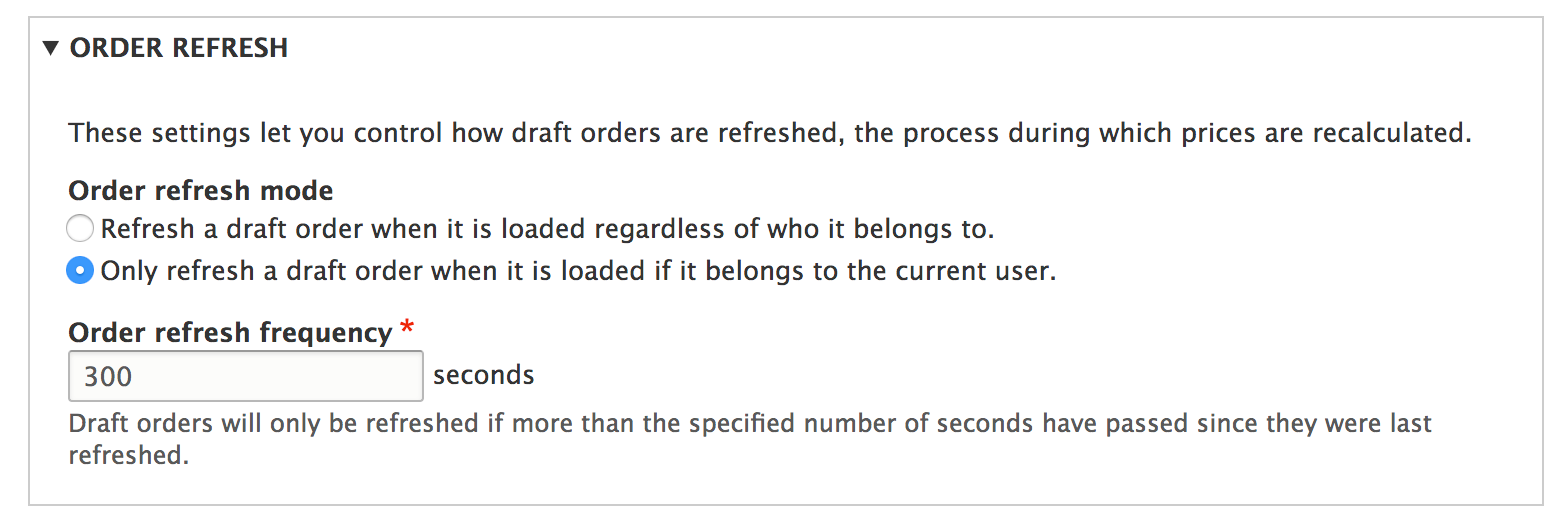
Configure the order refresh threshold
Each order type can configure its refresh threshold. For instance, a regular customer order type might be fine at an hourly refresh interval. On the other hand, a wholesaler order type may need a more constant refresh, such as every minute, due to pricing logic.
By default order types refresh every five minutes. This can be modified by editing the order type.
Hooking into the process
The order refresh process uses tagged services to identify services which should be ran. Service classes must implement \Drupal\commerce_order\OrderProcessorInterface.
Example
The following is an example for a module's *.services.yml file.
# Order refresh process to apply a bonus adjustment to orders.
# We set the priority very low so it calculates last.
example_module.bonus_order_processor:
    class: Drupal\example_module\OrderProcessor\BonusOrderProcessor
    tags:
    - { name: commerce_order.order_processor, priority: -300 }
<?php

namespace Drupal\example_module\OrderProcessor;

use Drupal\commerce_order\Adjustment;
use Drupal\commerce_order\Entity\OrderInterface;
use Drupal\commerce_order\OrderProcessorInterface;

/**
 * Applies a 5% discount per high quanity item because it is Thursday.
 */
class BonusOrderProcessor implements OrderProcessorInterface {

/**
 * {@inheritdoc}
 */
public function process(OrderInterface $order) {
    if (date('w') == 5) {
    foreach ($order->getItems() as $order_item) {
        if ($order_item->getQuantity() > 4) {
        $adjustment_amount = $order_item->getTotalPrice()->multiply('0.05');
        $order_item->addAdjustment(new Adjustment([
            'type' => 'custom',
            'label' => t('Thursday bonus'),
            'amount' => $adjustment_amount->multiply('-1'),
            'percentage' => '0.05',
        ]));
        }
    }
    }
}

}
Customize order receipt emails
Order receipt emails are powered through Twig templates. There is no user interface for customizing the email content. In most cases email require inline styling and full HTML. This is where Twig excels.
The order receipt email, which customers receive, is controlled through the commerce_order_receipt theme hook. The following information is available to the theme hook
- The order, as
order_entity(see method definitions) - Billing information, as
billing_information - Shipping information, as
shipping_information - Payment method information as
payment_method - Order total sumary as
totals
The default commerce-order-receipt.html.twig can be found in the commerce_order module.
The email can be customized by overriding the Twig template in your theme just as you would any other template (see Drupal's Twig Template docs).
Or in your custom module:
Copy commerce-order-receipt.html.twig to my_module/templates/my-module-order-receipt.
Then register it in my_module.module.
/**
 * Implements hook_theme().
 */
function my_module_theme($existing, $type, $theme, $path) {
  return [
    'commerce_order_receipt' => [
      'template' => 'my-module-order-receipt',
      'base hook' => 'commerce_order_receipt',
    ],
  ];
}
You must also make sure your Drupal site is sending emails in HTML properly. Out of the box, Drupal does not do this. See Sending HTML emails on how to ensure emails are being formatted properly, and that your theme's template is being used to render the emails.
If your Drupal site is not using your theme to render emails, it may not pick up your overridden template.